The Little Mermaid hit theaters when I was in college. My bestie Ariel and I watched this masterpiece in the theater multiple times and owned the soundtrack. We were all about mermaids and, these many years later, we still are. I’d love to say I made this cute picture frame for an eight-year-old’s dream bedroom, but I didn’t. I, a middle-aged woman, created it for another middle-aged woman’s birthday. May Ariel and I never grow old and may we always be mermaids!

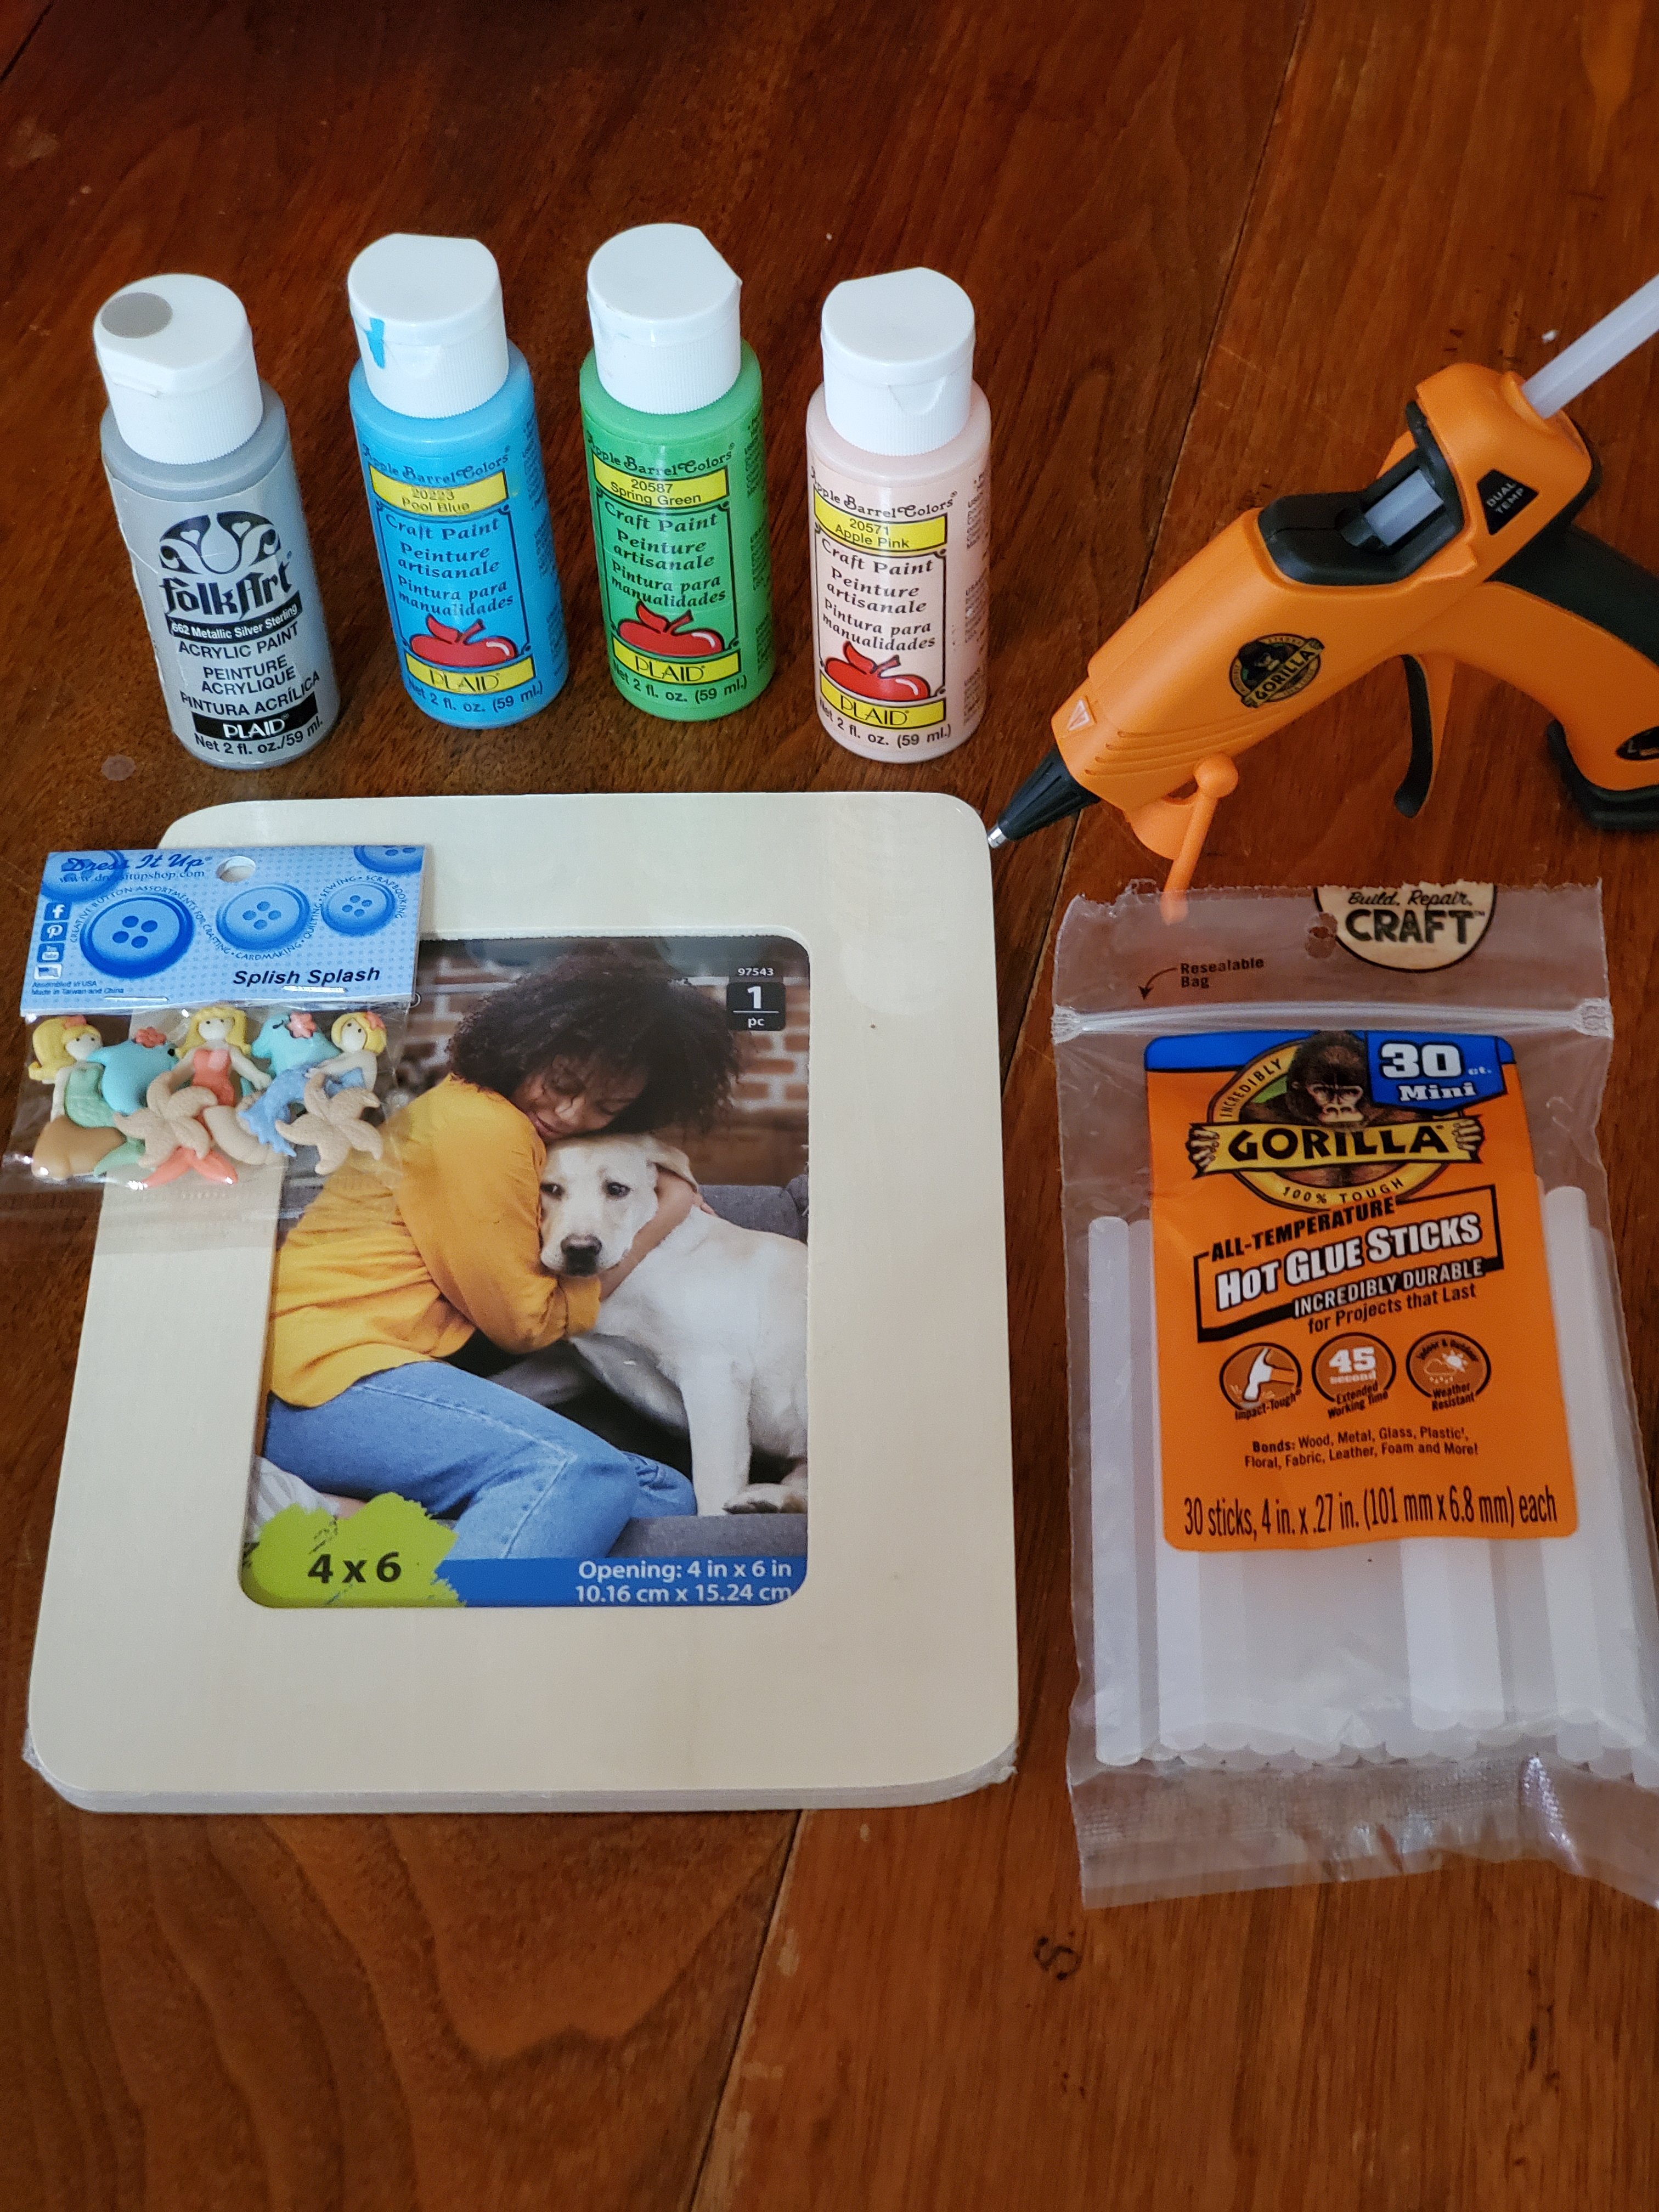
Materials:
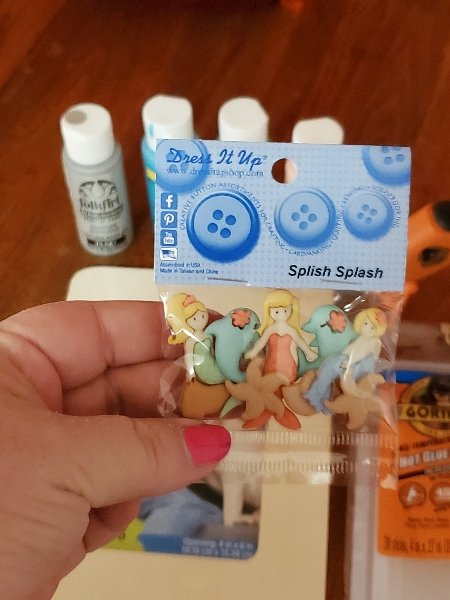
Walmart: wooden frame, mermaid buttons
Stuff I had on hand: acrylic paint, stencil ruler, hot glue gun, poultry shears or wire cutters
Directions:
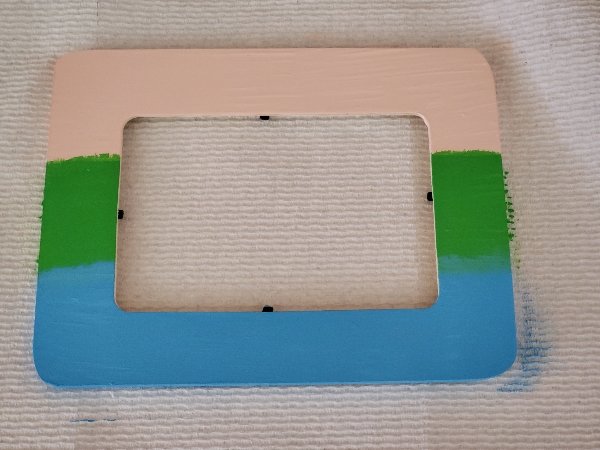
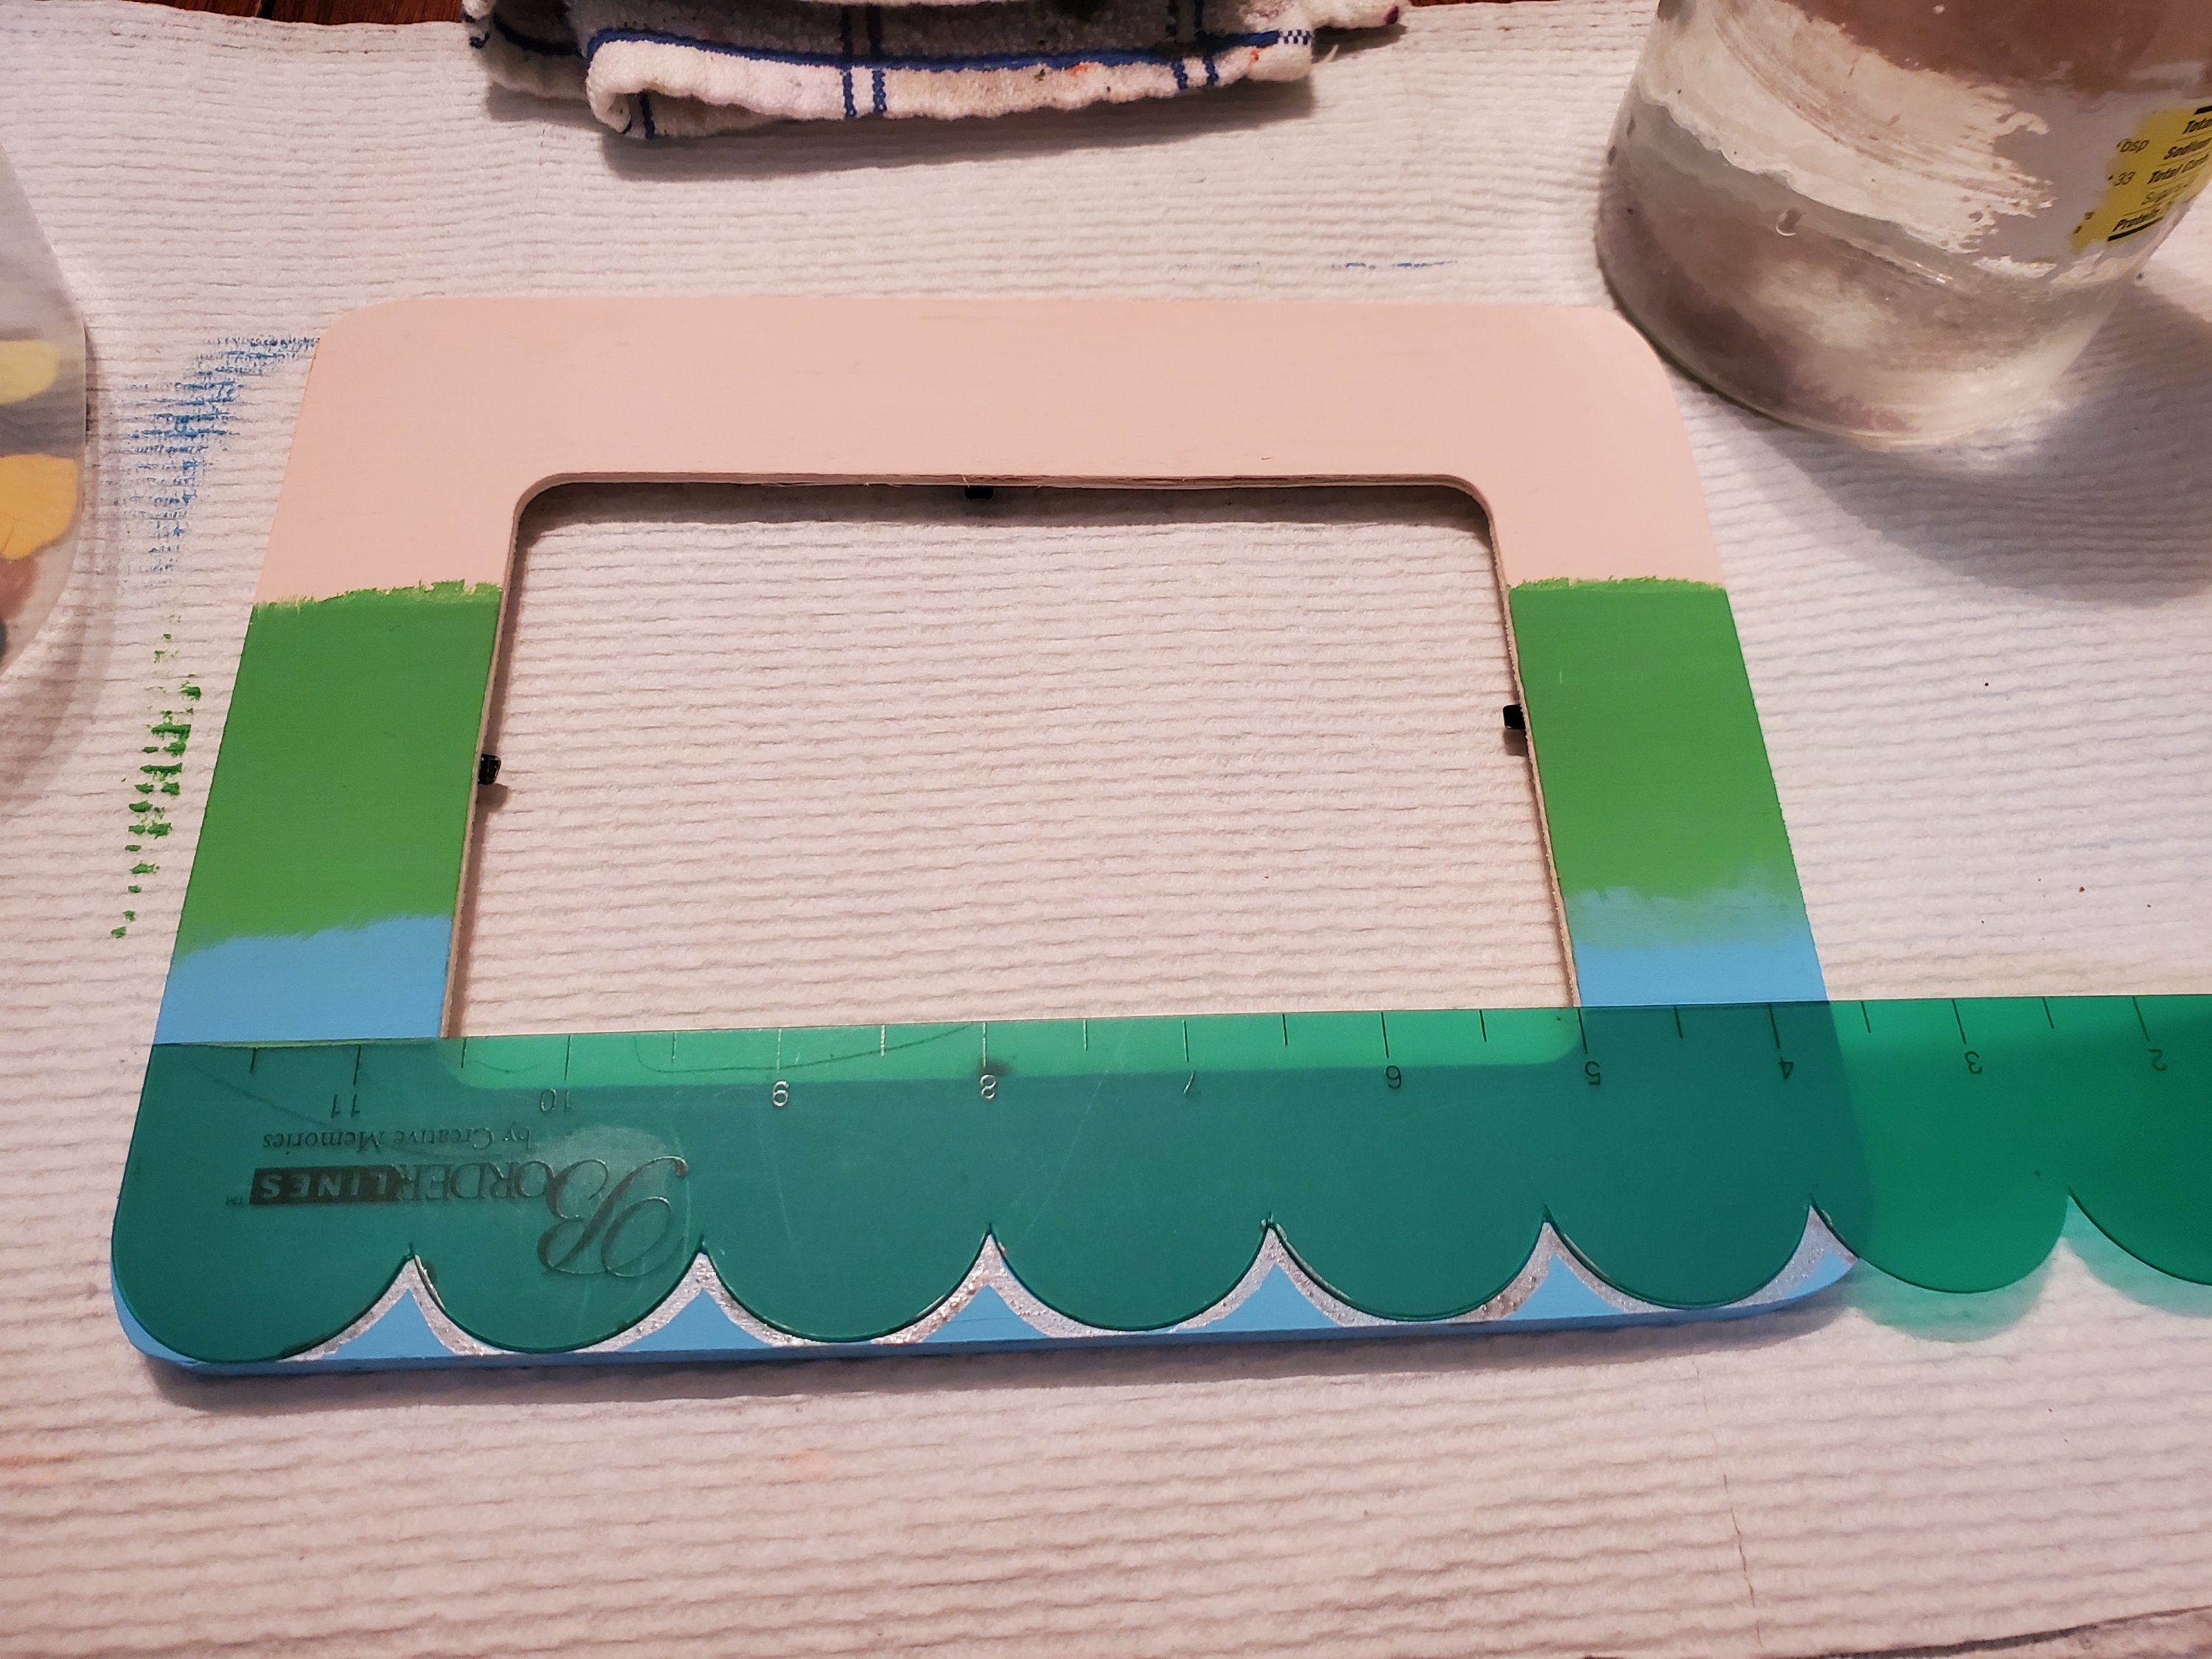
- Choose three mermaidy colors and paint each one on a third of the frame. Don’t forget the edges!
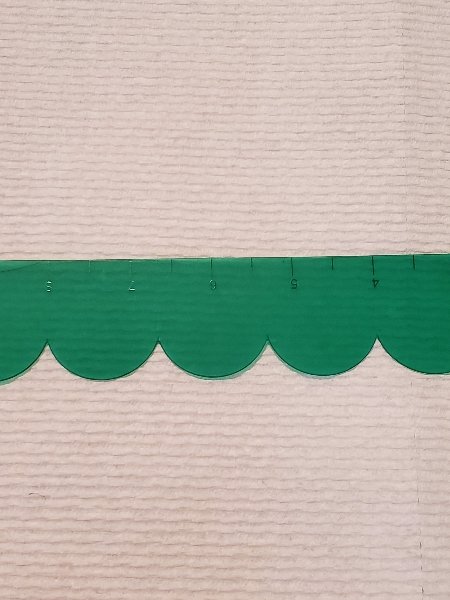
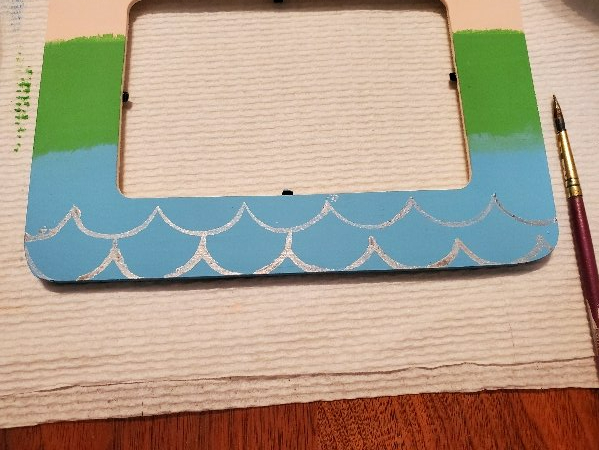
- Create scales, using a metallic paint and a scalloped-edge ruler. (If you do not have a ruler, you can download a template from here and print on cardstock.)
- Paint a baseline.
- Then, shift the ruler to paint the next line.
- Shift the ruler to the original orientation and add another line.
- Repeat until frame is complete.
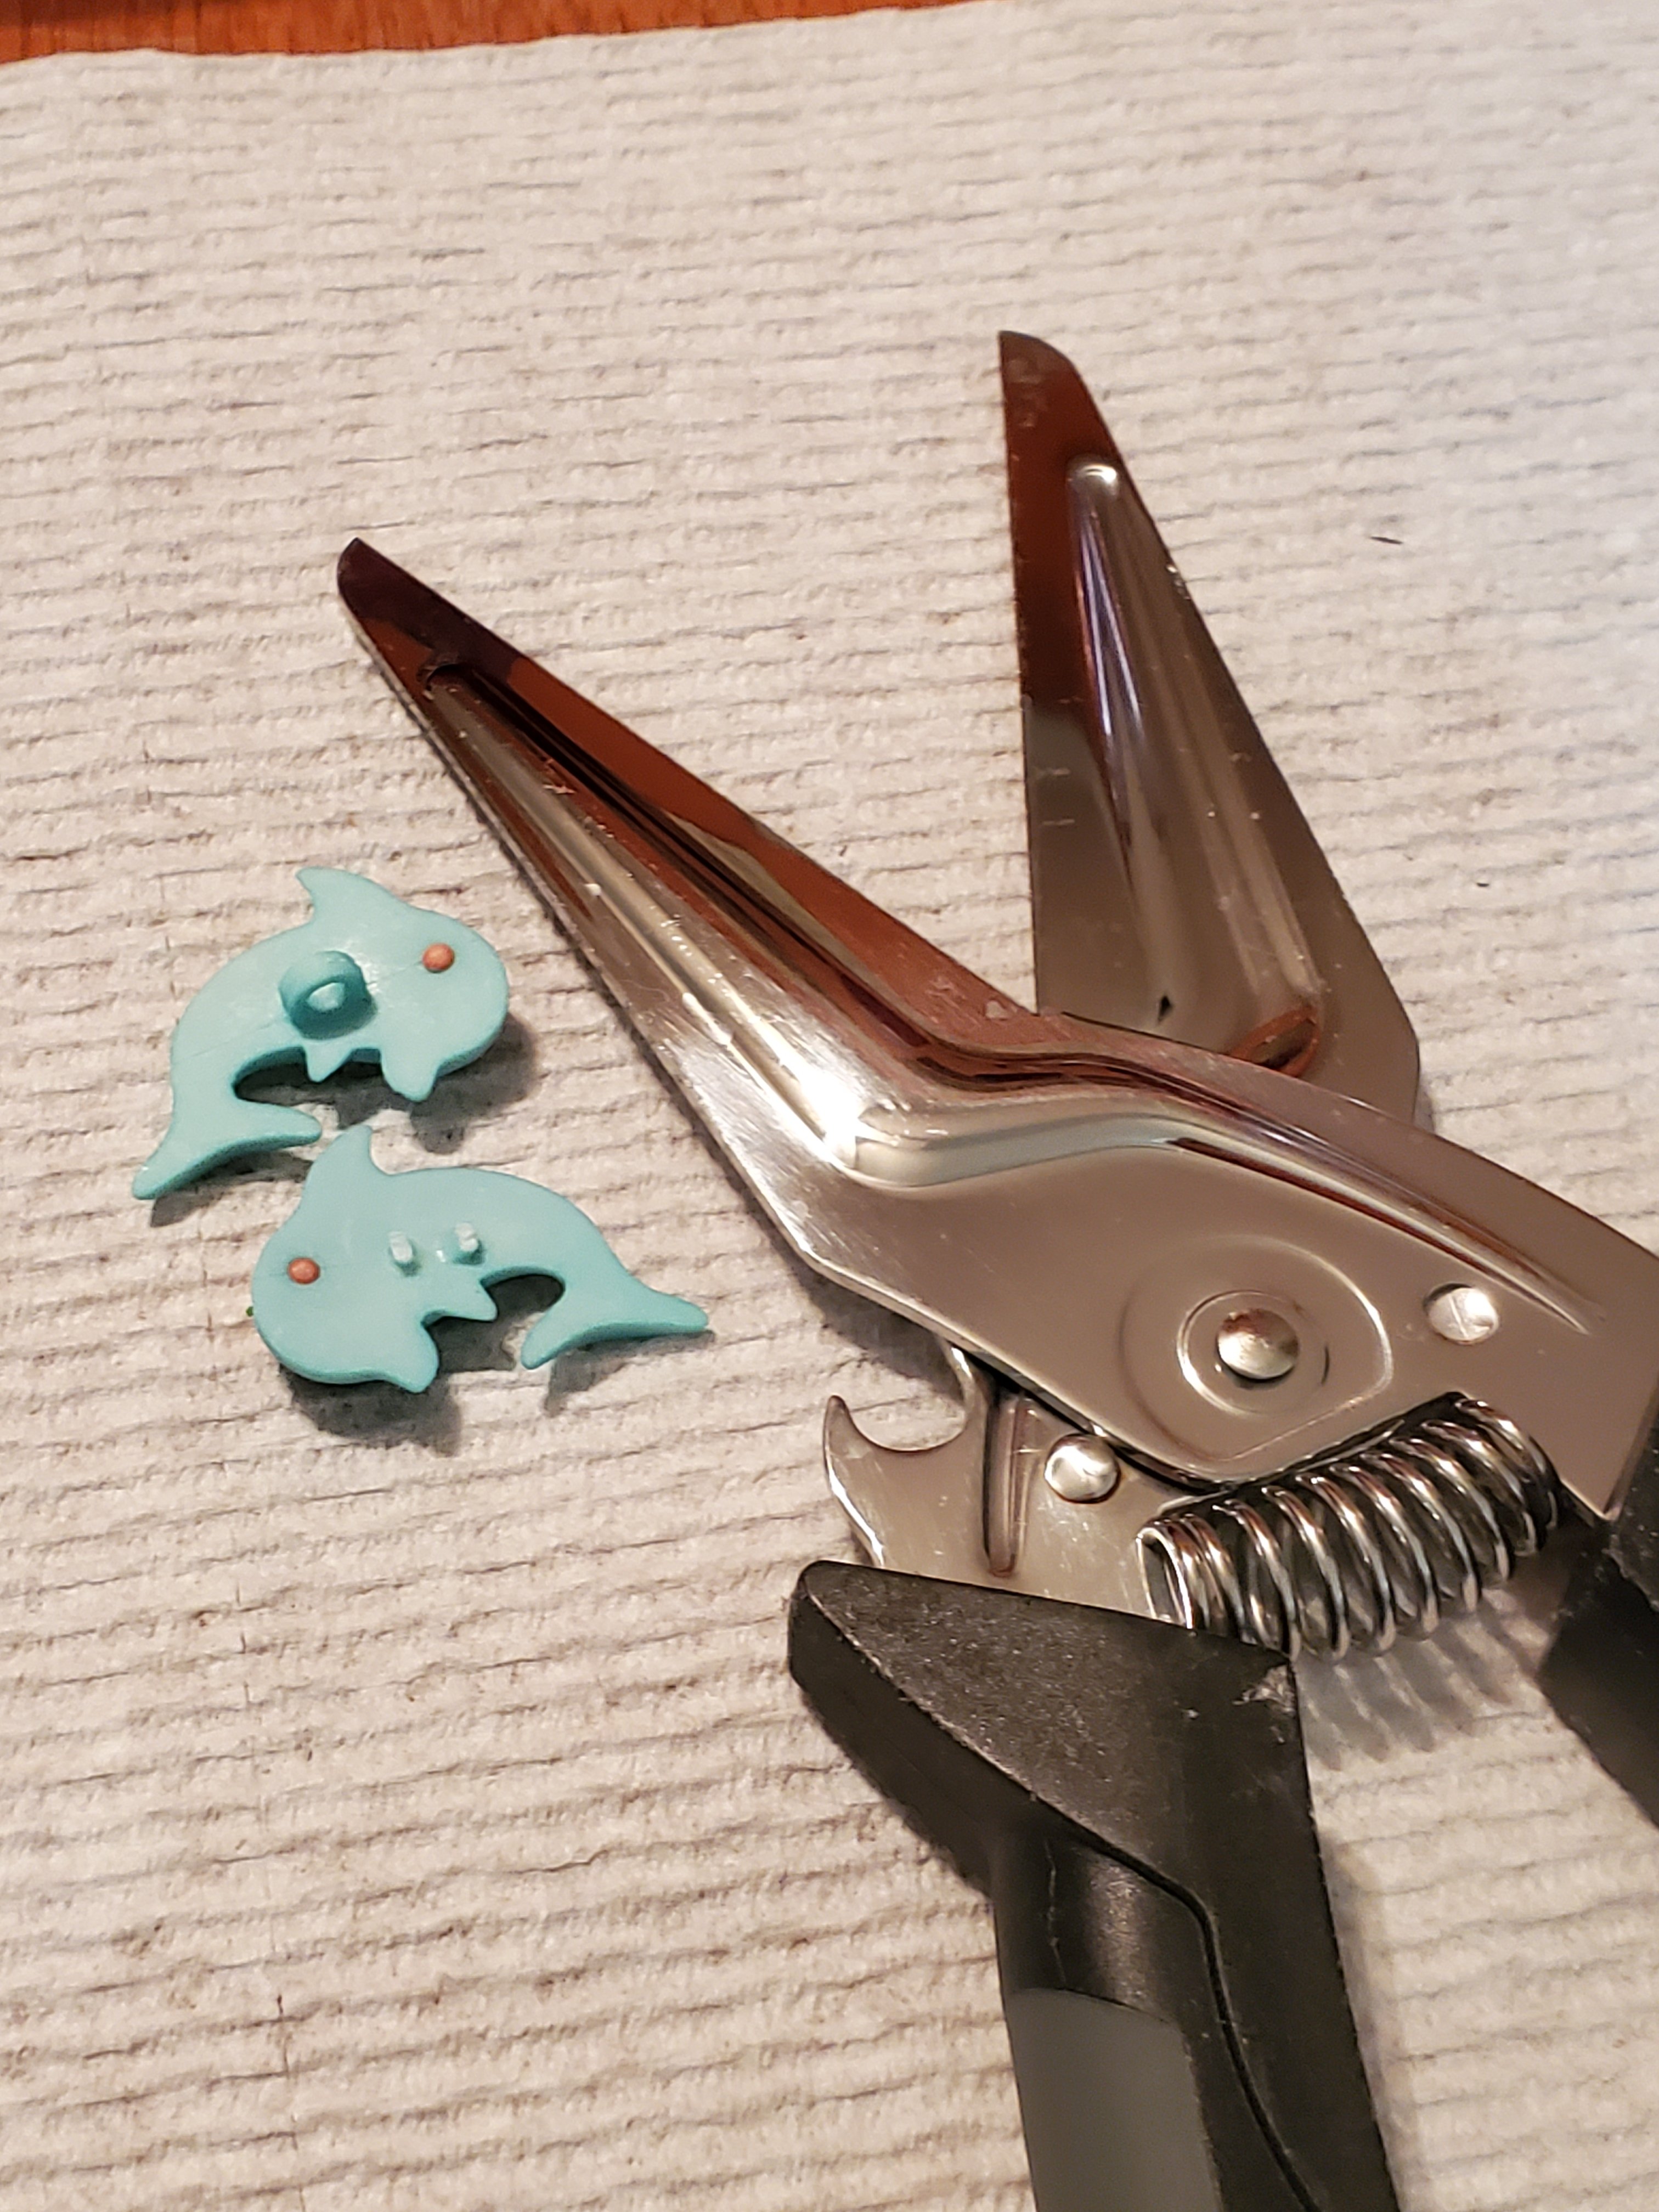
- Cut the plastic loops from the back of the buttons using shears or wire cutters.
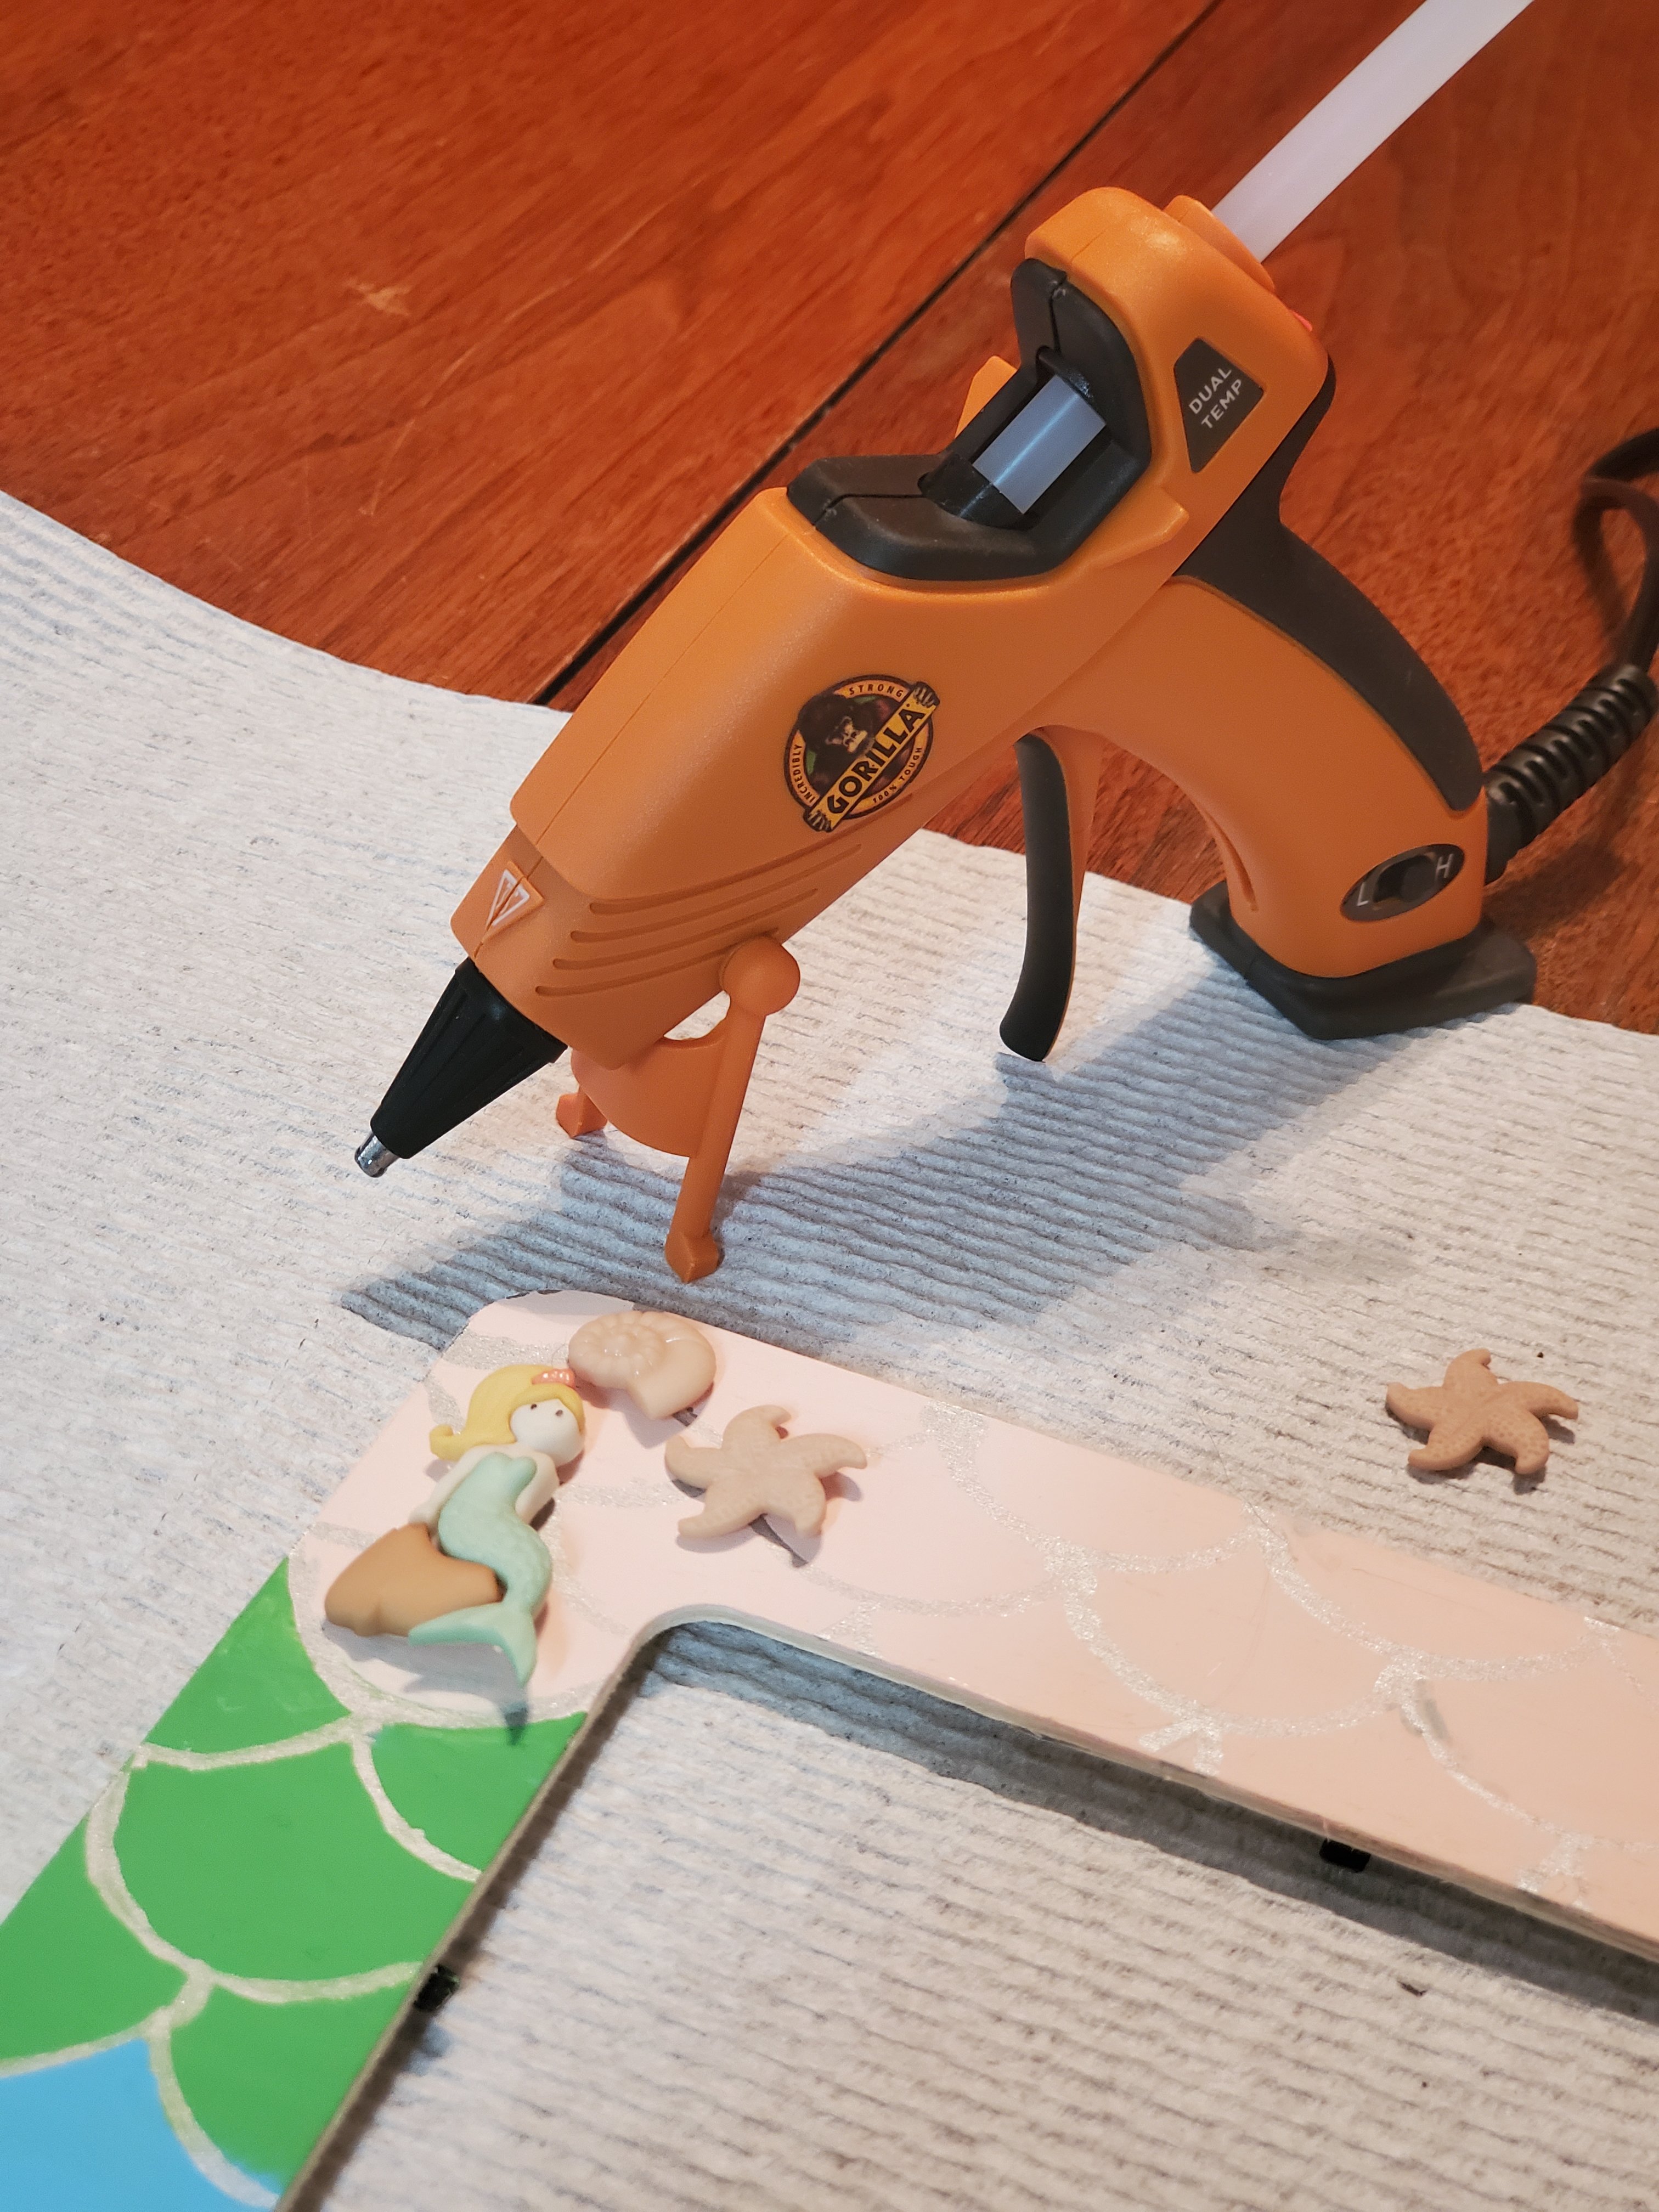
- Hot glue buttons to frame.
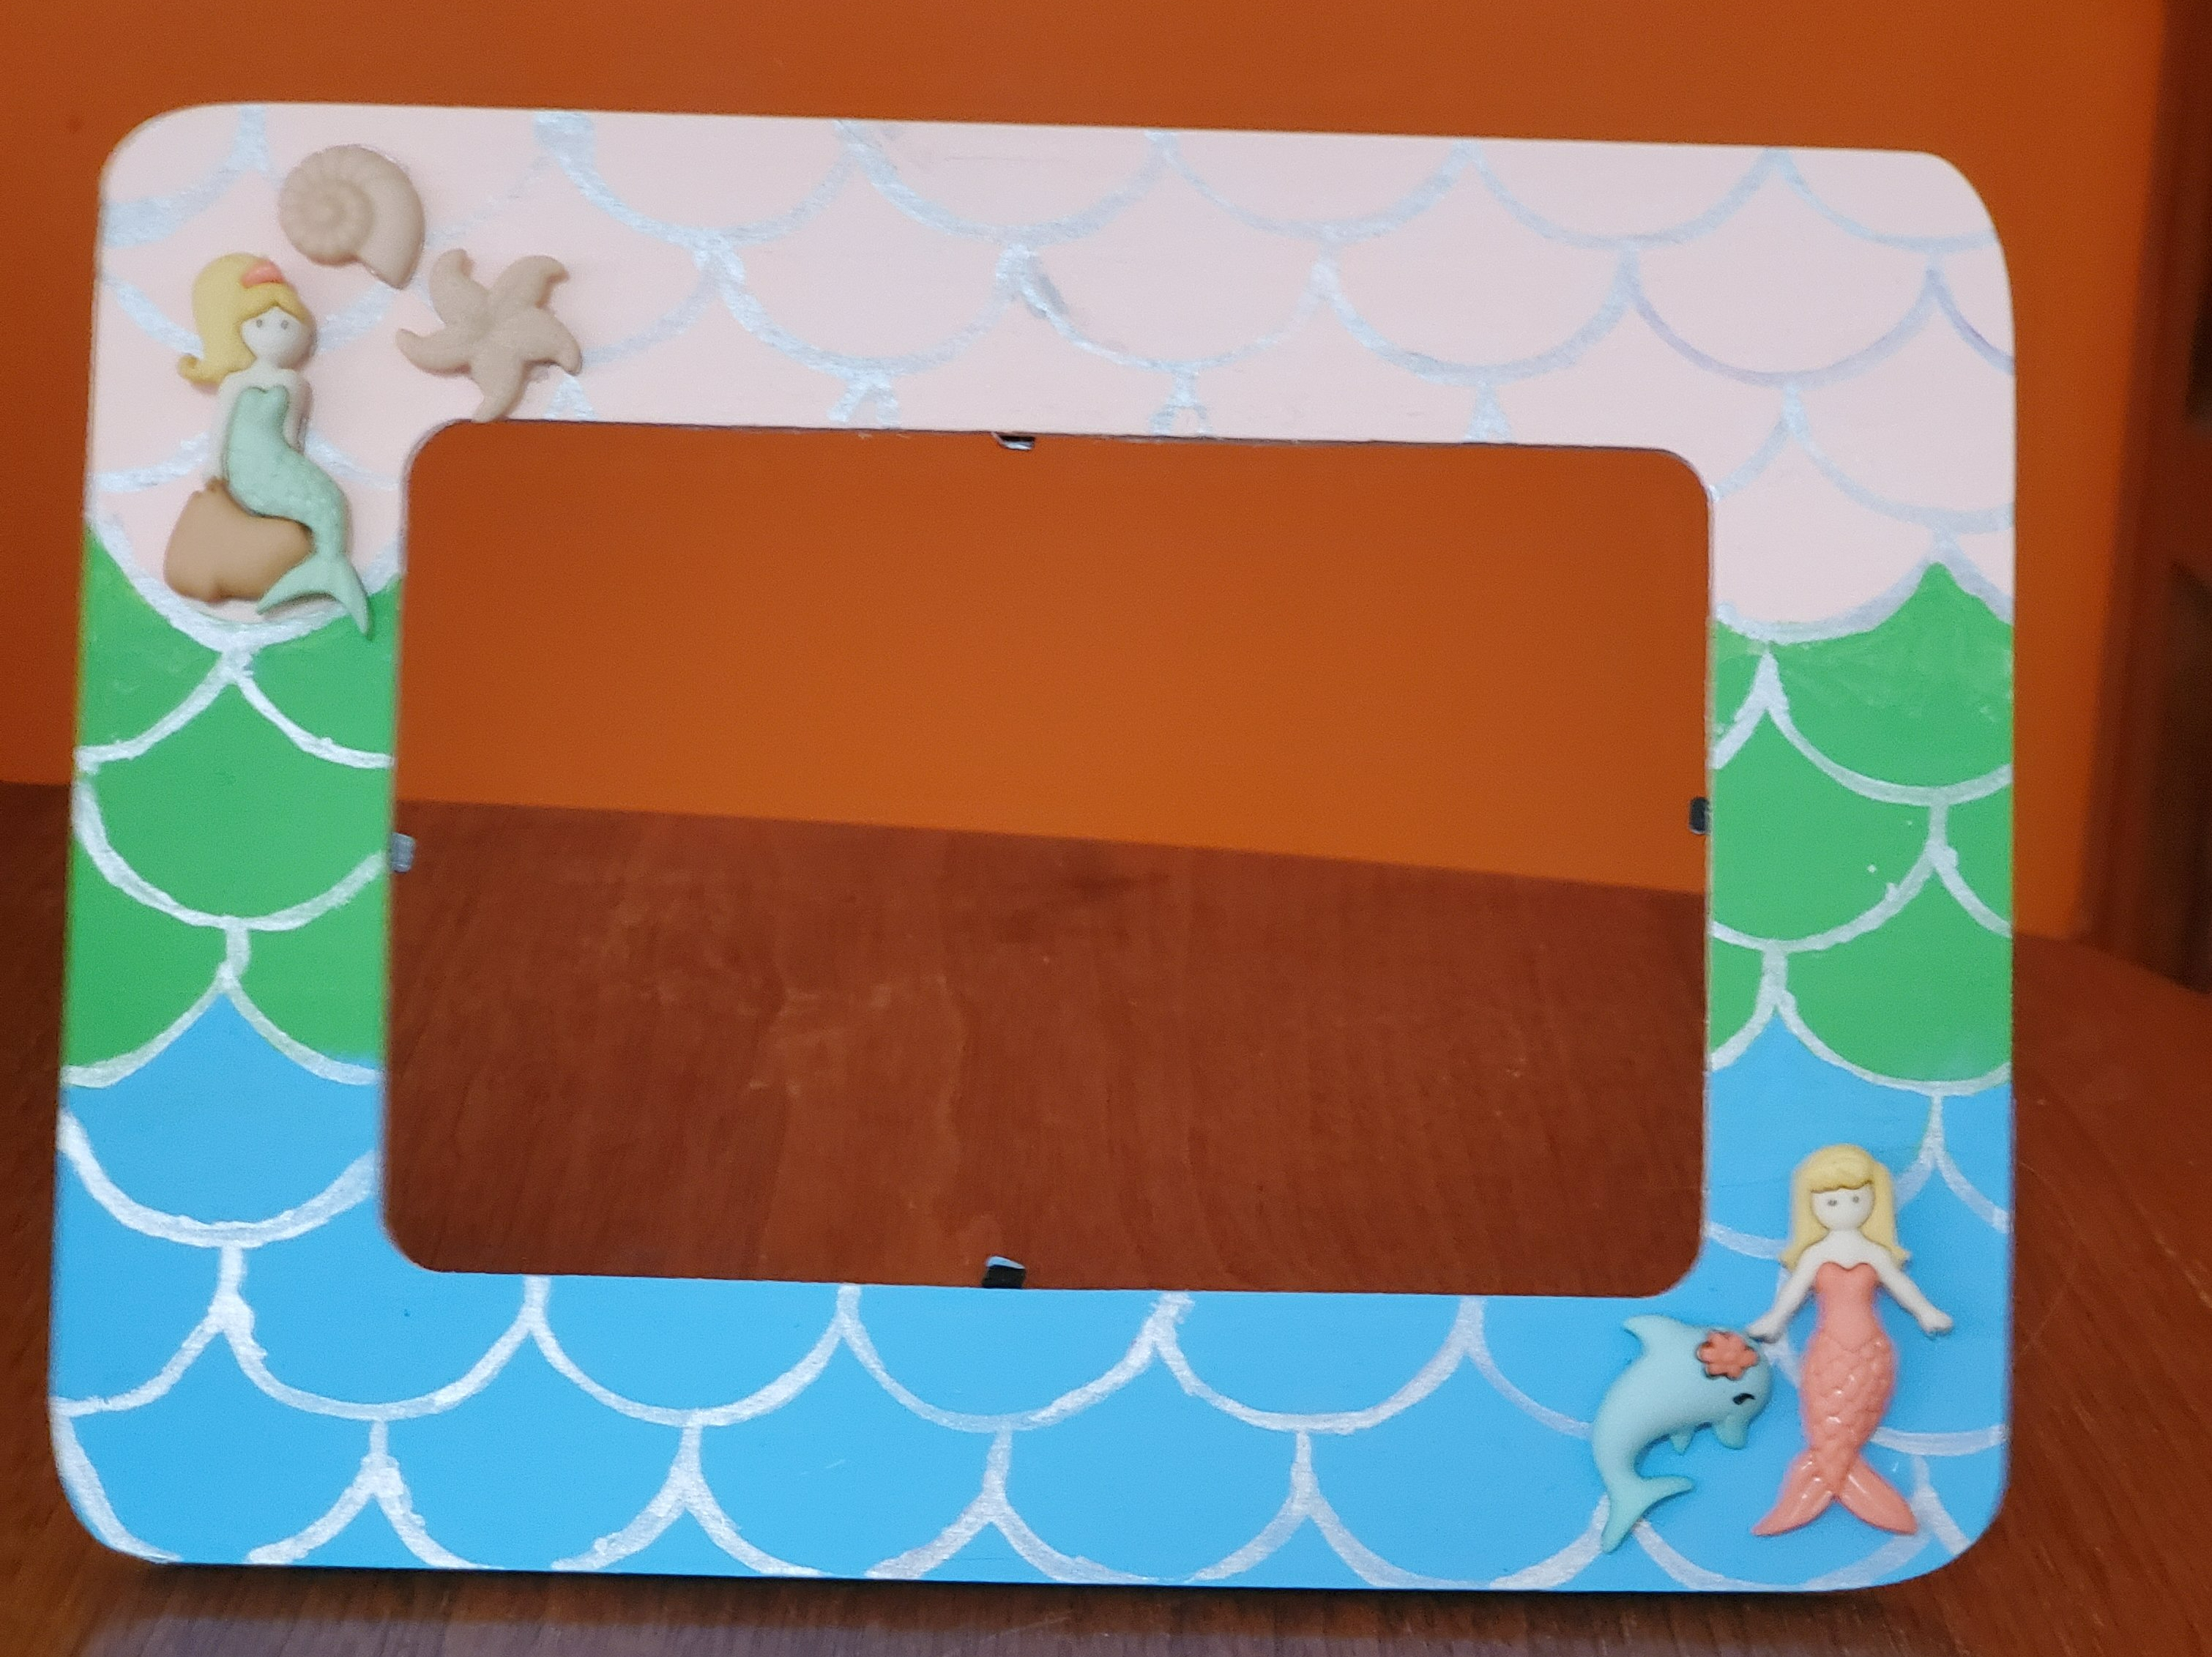
Finished Product
Add a photograph and place the frame next to all your gadgets, gizmos, and thingamabobs.

Leave a comment